
Lately I’ve been into chickpeas, and hummus. A few weeks ago I gave in and bought the hummus from my grocery store. I wasn’t thrilled with the ingredient list, but, there weren’t any options. And it was decent. I liked it. Until the other day, when I got creative and decided to make my own hummus from scratch. I’ve always known it was a thing, but put it off because I don’t have a food processor. Last week, I got seriously inspired by a great hummus post I read here, and I thought I should be able to pull it off. I don’t have a mortar and pestle. I didn’t make my own tahini from scratch. I wasn’t that dedicated this time. But I did manage to pull of homemade hummus from scratch, with no electricity. {Okay, now I’m keeping it in my fridge, which is very much electric, but the actual making of the hummus was done with no electricity.}
Roasted Garlic Hummus:
Ingredients:
- 3 cups chickpeas, soaked overnight and cooked through or, from a can/jar {about 1 – 1 1/2 cups dry before you soak them}
- 5 tbsp tahini paste
- 9 tbsp water
- 5 cloves garlic
- olive oil, for garlic.
- sea salt, to taste
Directions:
- If you have dry chickpeas, start here. If you have canned or jarred, drain them and skip ahead to step three. Soak your chickpeas overnight. Make sure whatever you’re soaking them in is big enough for them to double in size and still be submerged. I made this mistake.
- Drain your chickpeas and cook them in fresh water. I boiled mine for about 40 minutes. Normally I wouldn’t want them so cooked, but this time I wanted them easier to smush. If you have water left in your pot, drain it, and transfer your chickpeas to a bowl. If you let the water boil out like I did, turn off the heat.
- Sautee some garlic in a little olive oil. I did 5 cloves, burnt some, redid some others, and it was still fine.
- Start smushing. I was too lazy to take off the chickpea “husks”, and it turned out okay. I used a big wooden spoon, and a fork, and it took awhile, but it’s doable.
- Add the tahini {less if you have fewer chickpeas}, and the water, a tablespoon or two at a time. You can always add more water and tahini, but you can’t take it out.
- Add the garlic, and the garlic oil and mix in.
- Add sea salt if you want. Remember the flavors will get stronger in the fridge.
- When you have the consistency you want, refrigerate it.
- The flavors will come together overnight.
It’s seriously yummy, you guys. I tried the storebought stuff after I made my own, to taste test, and there’s no comparison. Homemade is way better. A little chunkier, but better. And you could make it smoother with a food processor, or by smushing it more and removing the husks, if that bothers you. Also, I love knowing what’s in the food I’m eating. Hummus shouldn’t need added sugar and sunflower oil, and mine certainly doesn’t. I’ve been eating it straight out of the fridge, it’s that good.

See the note above about using a big enough container to soak your chickpeas.

Like this one.

Drain them.

Cook them.

Smush them.

Keep smushing.

Almost there.

Tahini time.
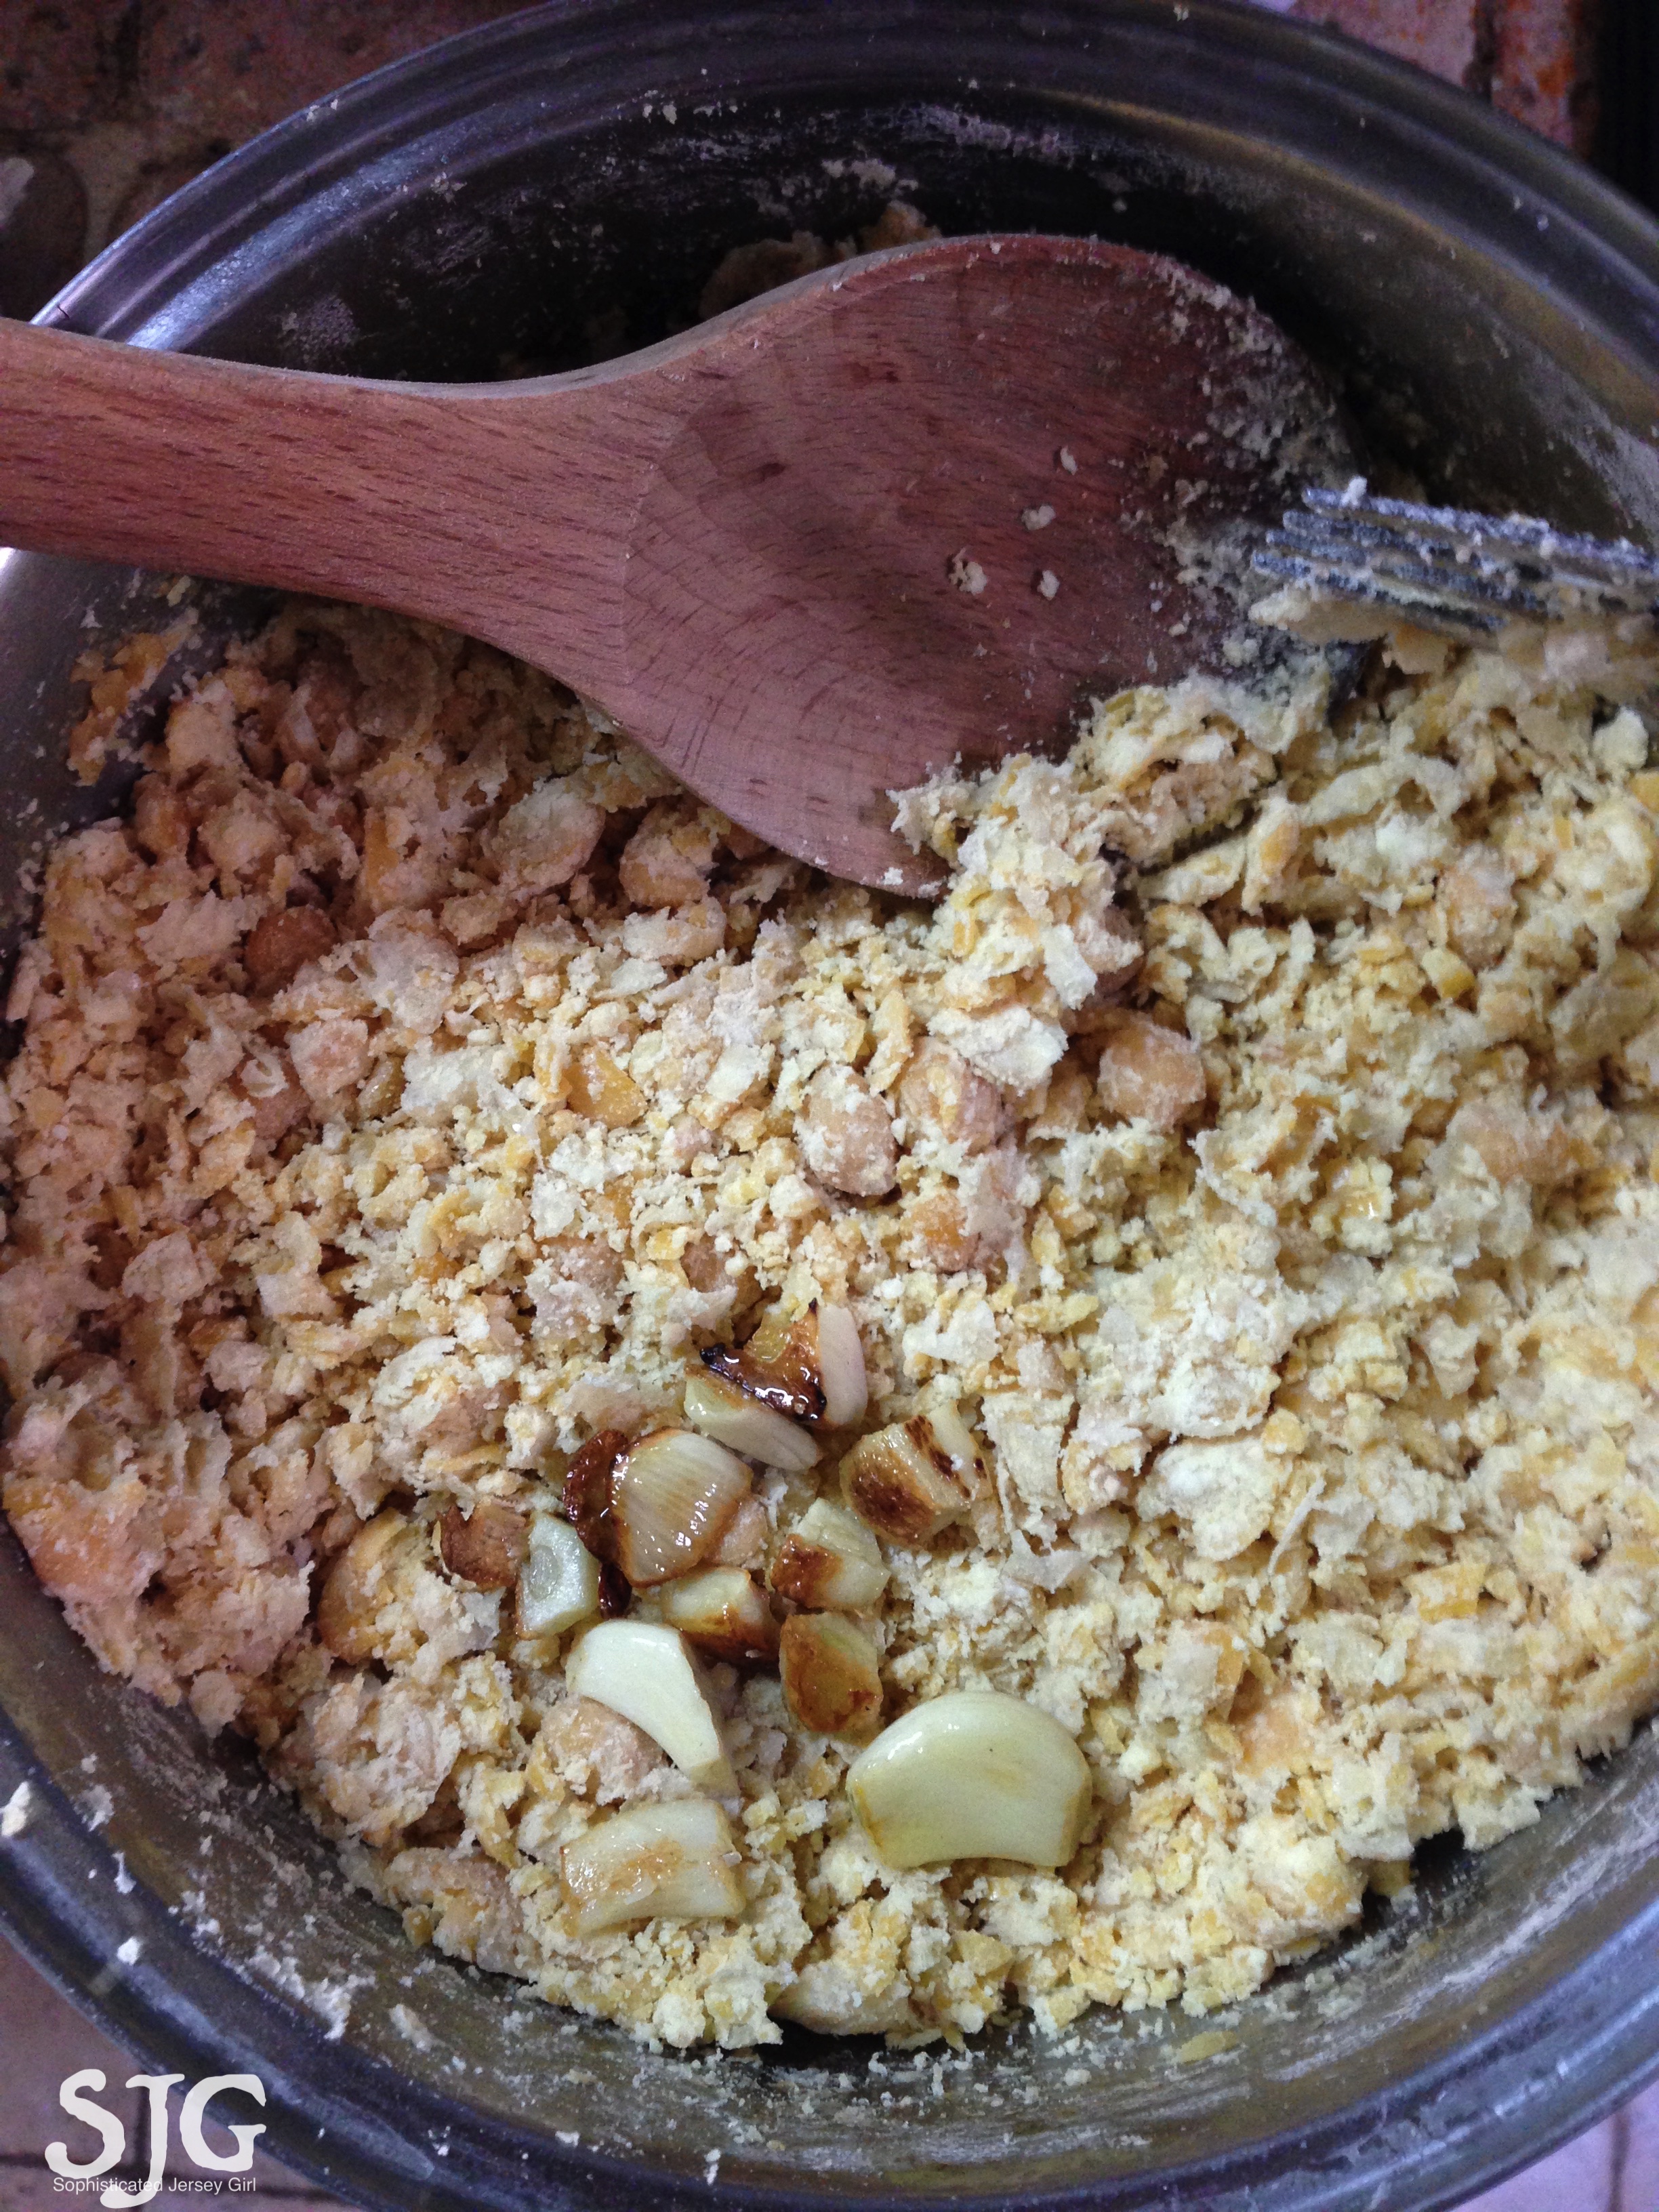
Add your garlic. Try not to burn it, like I did, when you roast it.

Mix it all together and refrigerate.

And you’ve got hummus!
Have you ever made hummus before? Do you have a favorite recipe? What’s your favorite thing to eat it on?

Awesome work!! The best part about making hummus at home is making it just the way you like it. Have you tried it with lemon?
LikeLiked by 1 person
I haven’t tried the lemon… I’m sure it would be delicious, but I’m really not a lemon person. Maybe I’ll try a tex mex lime hummus… There’s a thought!
LikeLike
I’m torn because the Syrian half of me wants to be a hummus purist (chickpeas, lemon, salt, raw garlic, tahini), but the “white” side of me LOVES to experiment with different flavors! Haha. Just don’t tell a Syrian or Lebanese person what you’re doing! 🙂
LikeLiked by 2 people
I won’t tell anyone 🙂
LikeLiked by 1 person
Yes, a food processor would be of great help to you! I have made cashew hummus, black bean hummus and we love it served with homemade pita chips. Go girl-you got to do what you got to do to satisfy these cravings. It is improvising that’s all. Have a great weekend!
LikeLiked by 1 person
Cashew hummus sounds delicious, as do homemade pita chips!! Improvising is the key!! You’re right. Have a great weekend as well!!
LikeLiked by 1 person
Pingback: Poppyseed Matzoh | sophisticatedjerseygirl
always looking for a new hummus recipe, thank you! gonna give yours a try!
LikeLiked by 1 person
Let me know how it turns out for you!
LikeLiked by 1 person
trying to source some organically grown chickpeas in less than 25# bags!
LikeLiked by 1 person
Wow that’s a lot of chickpeas!!
LikeLiked by 1 person
yeah, that’d be too much – 5# would be more reasonable, but we live in a very rural area, so anything ‘organic’ i have to purchase through a food coop and they don’t offer anything less than 25# bags.
LikeLiked by 1 person