Poppyseed Matzoh

Happy Saturday!!  Here on Mallorca, Spring seems to have arrived.  It’s warmer out, the tourists have exploded everywhere, and tonight we set the clocks ahead an hour, losing time and sleep.  I even saw my first Spanish Holy Week procession last night.  Pictures will certainly follow in another post, and  you can judge for yourself if the participants bring anything else to your mind.  In the meantime, I’m waiting for the gas man, again.  I don’t think he’s coming at this point, and I would like to go for a run.  Regardless, yesterday I found myself in a different dilemma.  I have a whole big batch of homemade roasted garlic hummus, and I had nothing suitable to put it on, which is where the matzoh comes in.

I love matzoh.  It’s my favorite.  One time, after Passover, I got five pounds on sale at Wegman’s for a dollar.  $1.00.  It’s possibly my favorite matzoh story, but, as much as I recounted it, wasn’t providing me with any matzoh here in Spain.  Seriously, does no one eat it here?  Where is it??  I’ve been craving matzoh pb&j {peanut butter and jelly}, and had to take matters into my own hands.  Like the bagels that I made, I don’t know that I would say it’s a perfect match for store-bought matzoh, but that’s not necessarily a bad thing.  It did remind me more of the matzoh that you could buy at Fairmount or St. Viateur’s Bagels in Montreal, especially once I added the poppyseed.  There was definitely more flavor than the boxed stuff.  It was really surprisingly easy to make, and didn’t take any time, since there’s no yeast to rise.

I found a great no-mixer recipe, and I really don’t think I would use a mixer for these, even if I had one available, since you just don’t need one.  I cut the batch in half, because I had no idea what to expect.  I think I would do a half batch again, since there’s a lot of running back and forth to the oven, and I don’t think I have the patience to do that for a full batch.  Maybe if I had a helper.

Poppyseed Matzoh:

{Note 1: This is the modified batch I made.  I already halved it, so you don’t have to halve it again.  Also, you can omit the poppyseeds, but I think they’re a worthwhile addition.}

Ingredients:

  • 1 cup all-purpose flour, plus more for rolling out
  • 1 cup whole wheat flour
  • 1 tbsp olive oil
  • 1/2 cup warm water, plus more for sprinkling
  • 1/2 tsp sea salt, plus more for sprinkling {it’s supposed to be Kosher salt, but I didn’t have any.}
  • poppyseed for sprinkling {or sesame seeds, or whatever topping you want}
  • parchment paper, for your cookie sheet

Directions:

  1. Preheat your oven to 500°F {260°C}, with your parchment-lined cookie sheet inside.  {I only have one cookie sheet here, so that’s what I used.  I would start out using one sheet at a time.}
  2. Combine all of your ingredients except the poppyseed, and mix together.  Add more flour or water as needed to get a proper dough.
  3. Divide your dough into three, and roll out each ball, one at a time, on a well-floured surface.  Don’t forget to coat your rolling pin {in my case, a Saran-wrapped bottle of wine}, and your hands so nothing sticks.
  4. Roll each ball as thin as possible.
  5. Take your cookie sheet out of the oven, and transfer your rolled out sheet of matzoh to your parchment-covered cookie sheet.  I found two hands, supporting it like a half-rolled out pizza, did the trick.
  6. Poke holes all over the matzoh with a fork, sprinkle with sea salt, water, and poppyseed if you’re using it.  Use the back of the fork to gently press the poppyseeds into the matzoh.
  7. Bake for about 3 minutes, until golden brown and bubbly.
  8. Flip over and bake for another 3 minutes, or until golden brown and bubbly on that side.
  9. Roll out your other balls, and repeat until you’ve made matzoh out of all of the dough.  The cooking time might increase slightly with each batch… your cookie sheet gets cooled down every time you take it out and put fresh dough on it.
IMG_3614Mar 28, 2015

All purpose and whole wheat flours.

IMG_3617Mar 28, 2015

Oil, salt, and water.

IMG_3620Mar 28, 2015

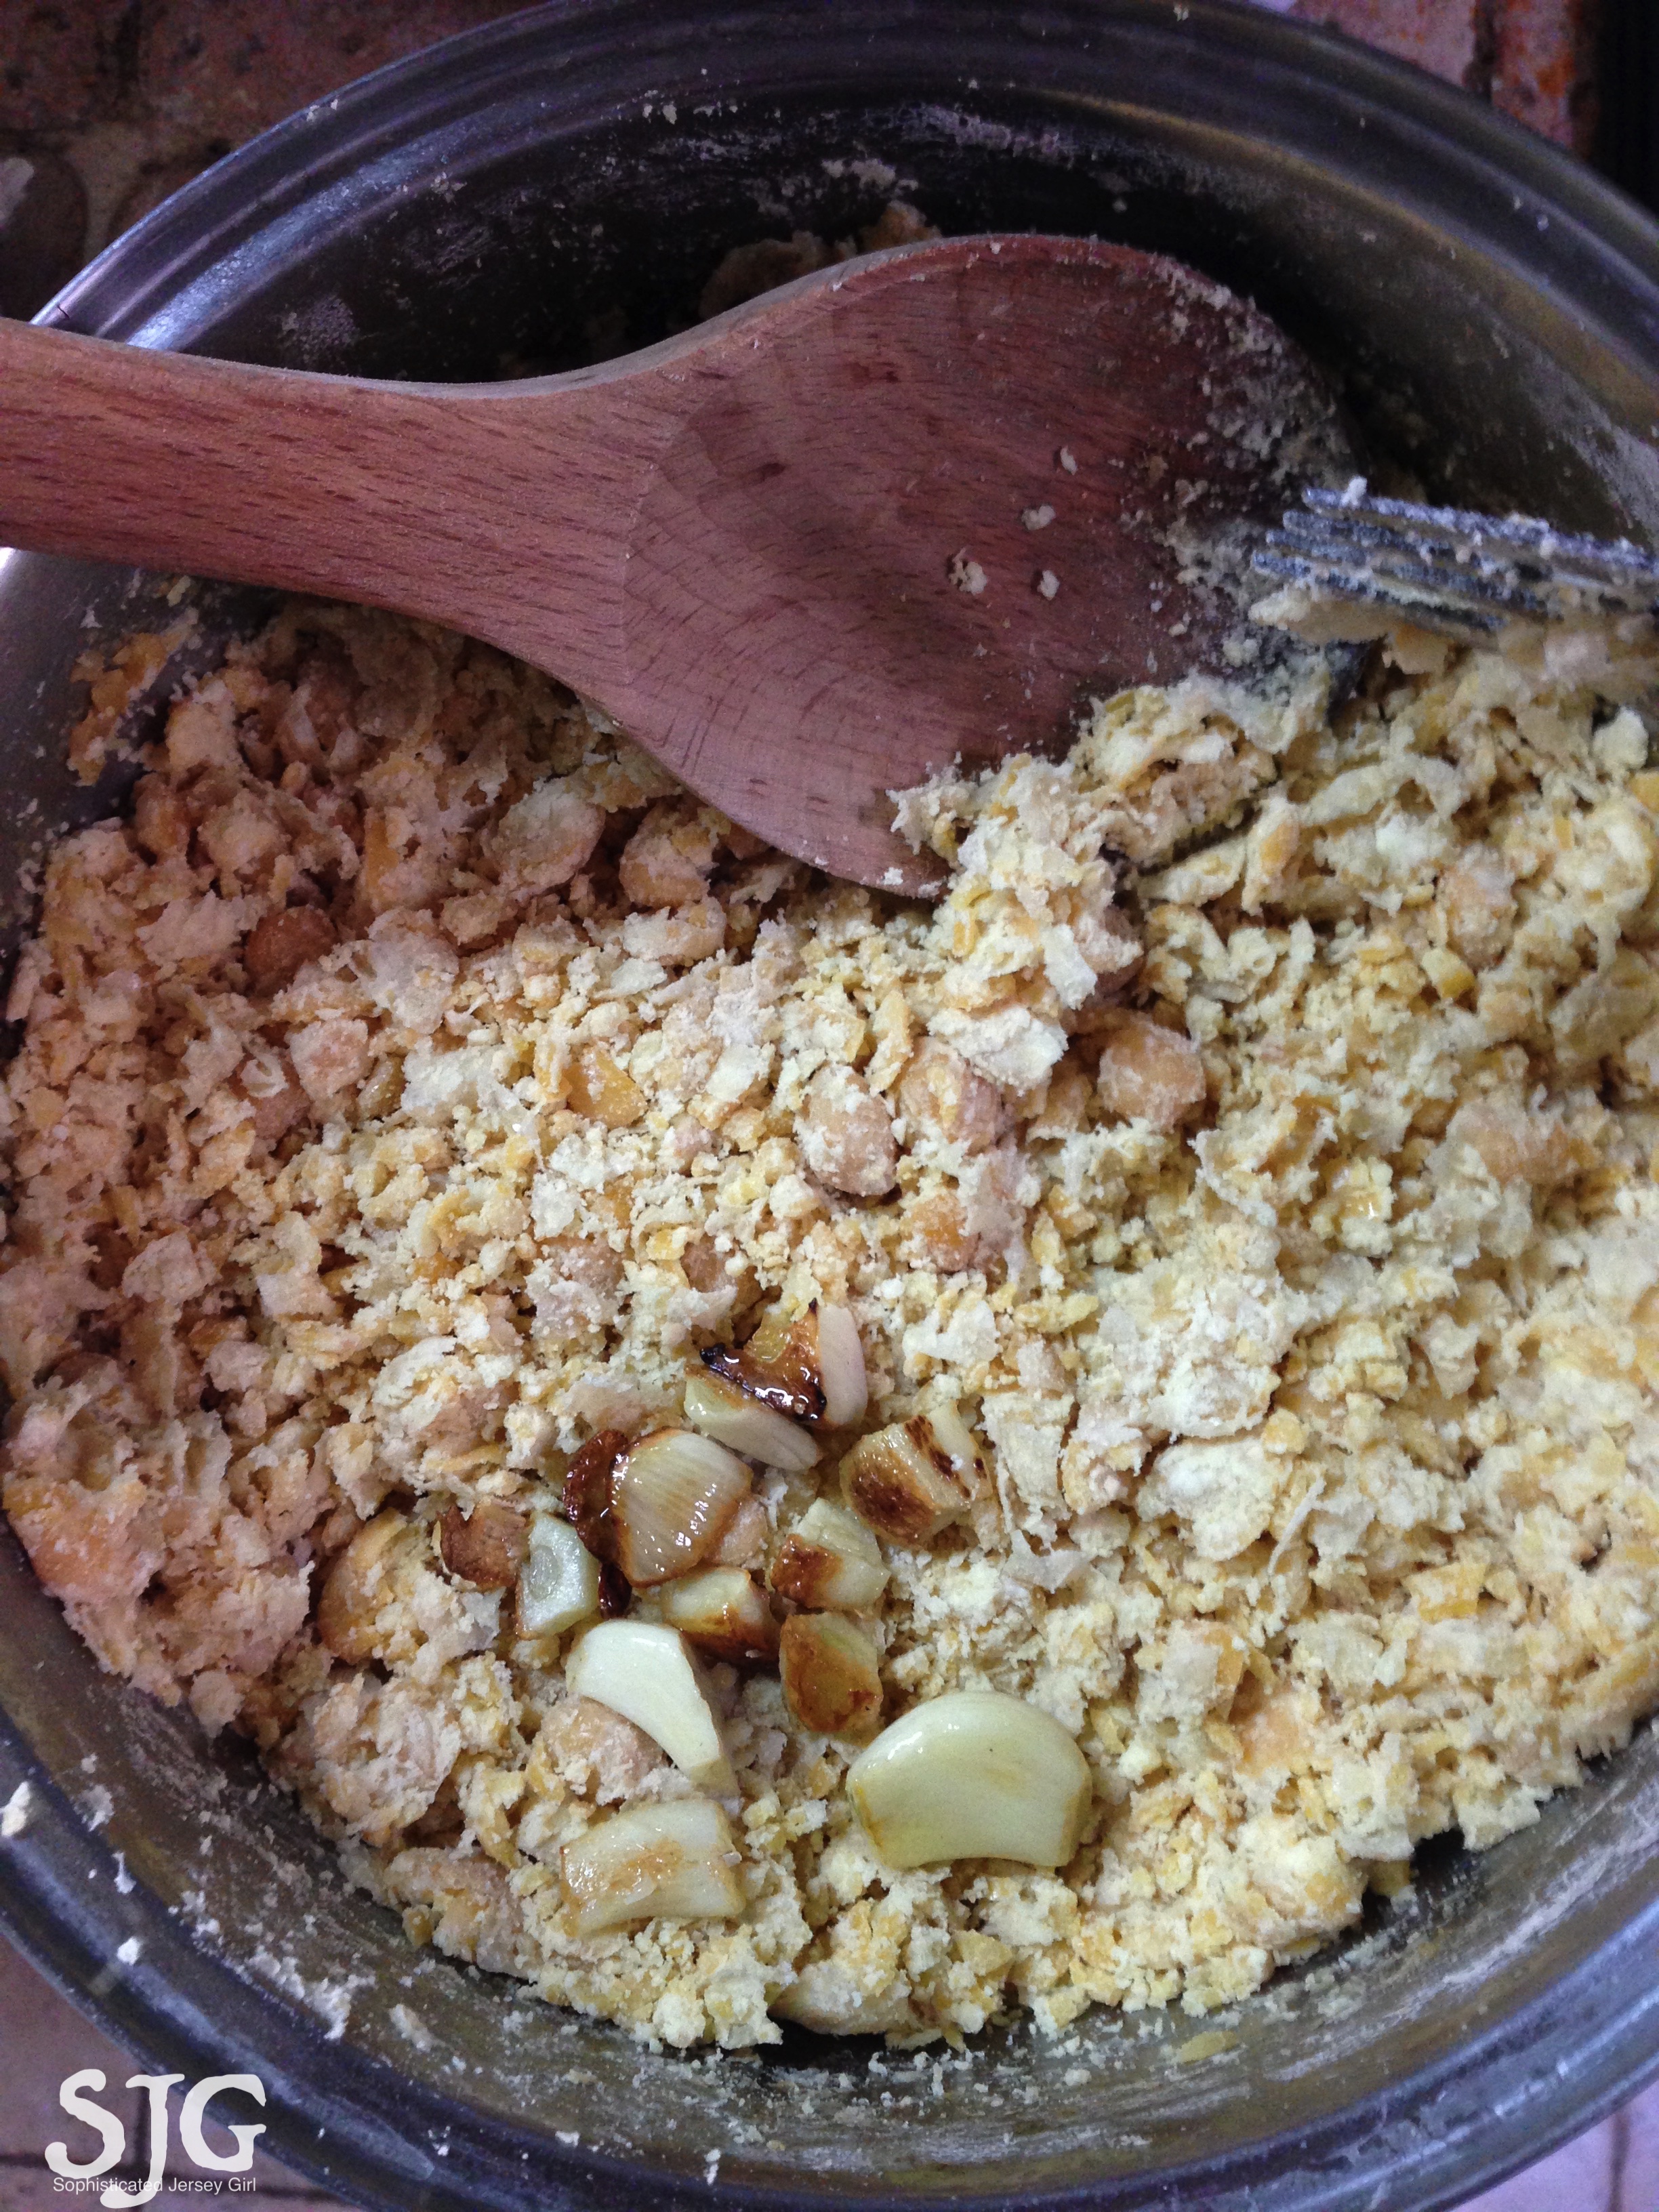
This is what my dough looked like.

IMG_3623Mar 28, 2015

Roll it out very thinly.

IMG_3624Mar 28, 2015

Poke holes with a fork.

IMG_3632Mar 28, 2015

All done. I made the first sheet without any poppyseeds.

IMG_3635Mar 28, 2015

Poppyseed matzoh ready to bake. Remember to press the seeds into the dough so they don’t fall off when you flip it over.

IMG_3643Mar 28, 2015

Poppyseed matzoh done.

IMG_3645Mar 28, 2015

Finished product. Three sheets of perfectly golden brown matzoh.

Have you ever made matzoh before?  What’s your favorite way to eat it?  Straight from the oven or box, with hummus, or peanut butter and jelly?

Note: My matzoh isn’t Kosher for Passover, among many reasons because the flour I used to make it wasn’t Kosher, and it took me longer than 18 minutes to make.  I read somewhere that it has to be made in under 18 minutes to be Kosher.  Regardless, it’s yummy.

Roasted Garlic Hummus

Lately I’ve been into chickpeas, and hummus.  A few weeks ago I gave in and bought the hummus from my grocery store.  I wasn’t thrilled with the ingredient list, but, there weren’t any options.  And it was decent.  I liked it.  Until the other day, when I got creative and decided to make my own hummus from scratch.  I’ve always known it was a thing, but put it off because I don’t have a food processor.  Last week, I got seriously inspired by a great hummus post I read here, and I thought I should be able to pull it off.  I don’t have a mortar and pestle.  I didn’t make my own tahini from scratch.  I wasn’t that dedicated this time.  But I did manage to pull of homemade hummus from scratch, with no electricity.  {Okay, now I’m keeping it in my fridge, which is very much electric, but the actual making of the hummus was done with no electricity.}

Roasted Garlic Hummus:

Ingredients:

  • 3 cups chickpeas, soaked overnight and cooked through or, from a can/jar {about 1 – 1 1/2 cups dry before you soak them}
  • 5 tbsp tahini paste
  • 9 tbsp water
  • 5 cloves garlic
  • olive oil, for garlic.
  • sea salt, to taste

Directions:

  1. If you have dry chickpeas, start here.  If you have canned or jarred, drain them and skip ahead to step three.  Soak your chickpeas overnight.  Make sure whatever you’re soaking them in is big enough for them to double in size and still be submerged.  I made this mistake.
  2. Drain your chickpeas and cook them in fresh water.  I boiled mine for about 40 minutes.  Normally I wouldn’t want them so cooked, but this time I wanted them easier to smush.  If you have water left in your pot, drain it, and transfer your chickpeas to a bowl.  If you let the water boil out like I did, turn off the heat.
  3. Sautee some garlic in a little olive oil.  I did 5 cloves, burnt some, redid some others, and it was still fine.
  4. Start smushing.  I was too lazy to take off the chickpea “husks”, and it turned out okay.  I used a big wooden spoon, and a fork, and it took awhile, but it’s doable.
  5. Add the tahini {less if you have fewer chickpeas}, and the water, a tablespoon or two at a time.  You can always add more water and tahini, but you can’t take it out.
  6. Add the garlic, and the garlic oil and mix in.
  7. Add sea salt if you want.  Remember the flavors will get stronger in the fridge.
  8. When you have the consistency you want, refrigerate it.
  9. The flavors will come together overnight.

It’s seriously yummy, you guys.  I tried the storebought stuff after I made my own, to taste test, and there’s no comparison.  Homemade is way better.  A little chunkier, but better.  And you could make it smoother with a food processor, or by smushing it more and removing the husks, if that bothers you.  Also, I love knowing what’s in the food I’m eating.  Hummus shouldn’t need added sugar and sunflower oil, and mine certainly doesn’t.  I’ve been eating it straight out of the fridge, it’s that good.

IMG_3577Mar 27, 2015

See the note above about using a big enough container to soak your chickpeas.

IMG_3580Mar 27, 2015

Like this one.

IMG_3581Mar 27, 2015

Drain them.

IMG_3582Mar 27, 2015

Cook them.

IMG_3583Mar 27, 2015

Smush them.

IMG_3584Mar 27, 2015

Keep smushing.

IMG_3586Mar 27, 2015

Almost there.

IMG_3589Mar 27, 2015

Tahini time.

IMG_3587Mar 27, 2015

Add your garlic. Try not to burn it, like I did, when you roast it.

IMG_3591Mar 27, 2015

Mix it all together and refrigerate.

IMG_3608Mar 27, 2015

And you’ve got hummus!

Have you ever made hummus before?  Do you have a favorite recipe?  What’s your favorite thing to eat it on?

Homemade Tortilla Chips

Yesterday’s refried bean post had me thinking about something that goes great with refried beans and guacamole… homemade tortilla chips.  They’re really easy to make – even easier than making the beans.  I love how simple it is to control the ingredients in the chips, and how yummy they come out.

Start with good quality corn tortillas – you might find them in the bread aisle or the international section, depending on where you live.

Preheat your oven to 400°F and line a cookie sheet (or two) with parchment paper.

Cut the tortillas.  It saves time if you cut more than one tortilla at once; I usually cut a stack of five or six at the same time.  Make three intersecting cuts across the diameter of the tortillas to create six triangles from each tortilla.

Arrange the triangles on the parchment in a single layer with no tortilla edges touching each other.

Bake at 400°F for about 20 minutes, flipping with tongs halfway through.  Make sure that when you flip them, you put them back in a single layer.

Remove from the oven when lightly golden brown.  Use tongs to remove the chips from cookie sheet, and enjoy while they’re still warm.

20140611-194213.jpg

20140611-194227.jpg

20140611-194324.jpg

20140611-194318.jpg

20140611-194347.jpg

*Just a disclosure about how La Banderita tortillas did not compensate me in any way, I just took a picture of the tortillas I used to help you guys see what kind I used.

Refried Beans, Round Three?

A lot of you may know that I’ve been struggling with refried beans for a while.  I don’t think my other attempts are worth linking back to, because you won’t even want to try the beans however I made them once you try them the way I made them yesterday.  I always want to make them, but they never come out quite right.  My result has always been on the firm side of al dente, if that can even be a bean measurement, and pretty much disappointing.  However, I think I finally nailed it.  It might not be a traditional refried bean recipe, but it’s one that I’m embracing because it worked.

Instead of dry beans, I used canned, because that was what was in the house.  The fact that these beans came out a lot better makes me think that my problem lies in the cooking of the dry beans and not the refrying process.  I still want to take on refried beans from dry beans, but in the meantime, this is pretty good.  If you’re looking for an easy-peasy refried bean recipe that works, here ya go:

1 14 ounce can black beans

Half an onion (I used Vidalia)

Olive oil

1 tbsp tomato paste

About a third to a half black bean canful of water.


Rinse your beans.  Canned beans can be super salty.  To save washing a colander, I like to use a can opener to open the can of beans most of the way and then carefully dump out the liquid inside while reserving the beans.  Just don’t peel up the lid once it’s mostly opened.  Leave the opened lid down on the closed can, and your beans will stay inside, although it’s a good idea to hold your hand under the can in case any beans do fall out. Your palm, open but with fingers touching, will work better than any colander. Once the liquid is gone, run your can under a stream of tap water, shake the can to get the water evenly distributed, and dump out.  Rinse like this as many times as needed to get clean beans.

In the meantime, heat a pot on medium heat.  Add a few tablespoons of olive oil.  Chop half an onion into normal sized cut pieces.  Not microfine, but you should also have more than three pieces of onion.  Heat in the oil until translucent.  Add your tomato paste and stir.  Add the beans.  Fill the empty bean can about halfway with water (saves using a measuring cup) and add enough water to the beans to cover them.  Cook until heated through.  I pulled my beans off the heat just before all the water had evaporated.  Mash up with a potato masher, and then give them a good stir to get the onions and the moisture evenly distributed, and there you go.

I like to think this recipe is at least a wee bit healthier than most refried bean recipes, because I used olive oil instead of bacon fat or another veggie oil, and they still turned out really well.  As testimony, a non-bean-lover in my family even told me how good they smelled.  So grab a can of beans, and make them refried.  You won’t be sorry.  You can throw them on top of nachos or even eat them as a standalone dish.

20140610-161829.jpg

20140610-161821.jpg

20140610-161837.jpg

20140610-161858.jpg

20140610-161848.jpg


*Refried beans just don’t photograph well.  I tried, though.  I was going to add sea salt on top for texture, but the canned beans were salty enough without it.  Despite how they look, you’ll love how they taste!

Corn’s In, Finally!

Hey you guys!  Happy Friday!!  Seriously, I think the best part of three-day weekends that end on a Monday are the four-day weeks that follow.

I just wanted to say that my corn is planted, finally.  It sat in the sad little black plastic seedling things for a week until I finally got around to it.  Not optimal, but it’s finally in.  I don’t think I’m doing a full-blown garden this year, not that I usually do.  I’m not into gardening for the sake of gardening, but I do like trying to grow some veggies and live a bit more sustainably.  Plus, the planting process is when you realize why you’ve been hoarding food scraps all winter and keeping a compost bin.  It really is like black gold!!

Where I live, the soil is pretty crappy.  It’s basically thick clay with a whole bunch of rocks, which means good compost or topsoil is essential to growing anything.  I like to use my home-grown compost since I know exactly what’s in it, it’s already in my own backyard, and you can’t get much better than free.  I know it’s not organic unless it’s made with only organic food scraps, but hopefully as I transition to eating more organically, my compost will end up being fully organic.  If not, I tell myself that at least I’m not producing more CO2 by driving to the dirt store and schlepping it home.

However you get your dirt, I think there’s just something fun about growing your own food, and I wanted to share it all with you guys.  Right now there’s not much to look at, but maybe there will be more in the next week or so.  More corn, tomatoes, who knows?  Have you had any experience with blue corn and white corn planted close together?  I just put down white but I would love to try blue!  The deer and other four-leggeds tend to devour anything leafy, but I would love some more herbs {I have some parsley, basil, chives, oregano, and for the first time – chamomile – chilling in some window boxes, but I would love to add some rosemary.}, or maybe some red peppers or eggplant?  Dream big, right?

In the mean time, weeds are pulled, compost has been hauled to the planting beds {I should put down more but it’s a start}, the plants are watered, and life is good.  Do you have any garden plans for the summer?  Am I totally late to the game and you guys have had plants in for weeks already?  Let me know and I’ll keep you posted on my garden 🙂

20140530-182529.jpg

the bed after being tilled. big improvement from before already!!

20140530-182613.jpg

twilight planting. Corn is in!

20140530-182630.jpg

first big drink. they’re thirsty!

20140530-182638.jpg

All tucked in for the night! Hopefully deer-deterrent chicken wire.

20140530-182658.jpg

They made it through the night!