Rosemary, Cheddar Cheese Curd, and Goat Cheese Mac and Cheese

Hello out there!

The summer is flying by.  Hopefully everyone has been out doing summery things!  I’m doing my best to pack everything into the few short months of extended daylight that we’re blessed with, and it’s been a lot of fun.  A few weeks ago I was part of a whirlwind trip out to the Midwest.  I didn’t pet any cows this time, but I did squeeze most of the Wisconsin food groups into about 72 hours {cheese, cheese curds, Prime Rib, sour cream, kringle, and bratwurst (boiled in beer of course)}.  I don’t know how I didn’t gain a gazillion pounds, but I escaped them this time.

I did manage to snag some cheese curds from one of my favorite places, Mars Cheese Castle.  I’ve always described it as pre-cheese.  I’m not sure if that’s exactly true, and I know it sounds a little funky, but they’re delicious.  I always try to pick some up when I’m out there to bring back home, but when I get home, I tend to be a little cheesed out, forget to eat the curds, and it’s not uncommon for them to die in the fridge.  I wasn’t going to let that happen this time.

Instead of giving in to food waste, I made the most of an evening in the kitchen.  Cheese curds don’t always melt down like regular cheddar, but I really wanted mac and cheese, and so I used a little patience.  My go-to mac and cheese recipe is from the Fannie Farmer cookbook, and I just tweaked it to use the cheese I wanted to.  I highly recommend the following recipe that I threw together.  It’s delicious, and the addition of the rosemary elevates the whole dish without being overpowering.

Rosemary, Cheddar Cheese Curd and Goat Cheese Mac and Cheese

Ingredients:

  • 8 ounces dry pasta {I used shells this time, for the nooks and crannies}
  • 4 tbsp all-purpose flour
  • 4 tbsp unsalted butter
  • 4 cups 1% {or whole or whatever you like}
  • 8 ounces Laack’s cheddar cheese curd, or comparable cheese curd brand.
  • 4 ounces goat cheese, divided in 2.
  • 1/2 cup panko breadcrumbs
  • A few sprigs fresh rosemary

Directions:

  1. Preheat your oven to 400°F.
  2. Grease an 8×8 baking pan {unless it’s non-stick or silicon}.
  3. Cook your pasta a few minutes shy of package directions.  {Very al dente since they’ll keep cooking a bit in the oven.}
  4. Drain pasta and reserve.  Do not rinse.
  5. In a medium saucepan, melt 4 tbsp butter.
  6. Add 4 tbsp flour and stir until combined.
  7. Let cook a few minutes to cook out the raw flour taste.   Stir so it doesn’t burn.
  8. Slowly pour in milk, stirring as you add it to help prevent lumps.
  9. Heat until just below boiling and then reduce to a simmer, stirring frequently.
  10. When the milk-flour sauce has thickened, add half the goat cheese and all of the cheese curds, a little at a time, stirring to distribute throughout the sauce.
  11. When all your cheese is melted, add the pasta to the sauce and mix until every noodle or piece of pasta is covered in cheese.
  12. Transfer your mac and cheese to the prepared baking dish.
  13. Crumble remaining goat cheese over pasta and top with panko breadcrumbs and rosemary.
  14. Bake uncovered until top is toasty golden brown.  It shouldn’t take more than a few minutes.
  15. Enjoy!
IMG_7779Aug 11, 2015

Cheese curds close-up.

IMG_7784Aug 11, 2015

Cooked and drained shells.

IMG_7781Aug 11, 2015

Melty cheese curds in the milk sauce.

IMG_7782Aug 11, 2015

See how they’re getting really melty?

IMG_7785Aug 11, 2015

Melted down curds.

IMG_7786Aug 11, 2015

Combined shells and cheese sauce.

IMG_7787Aug 11, 2015

Poured into prepared baking dish.

IMG_7788Aug 11, 2015

Dotted with goat cheese.

IMG_7789Aug 11, 2015

Sprinkled with bread crumbs.

IMG_7791Aug 11, 2015

And fresh-cut rosemary sprigs. {Another perk of having an herb garden, if you have the space!}

IMG_7793Aug 11, 2015

Out of the oven, golden and crunchy top.

IMG_7796Aug 11, 2015

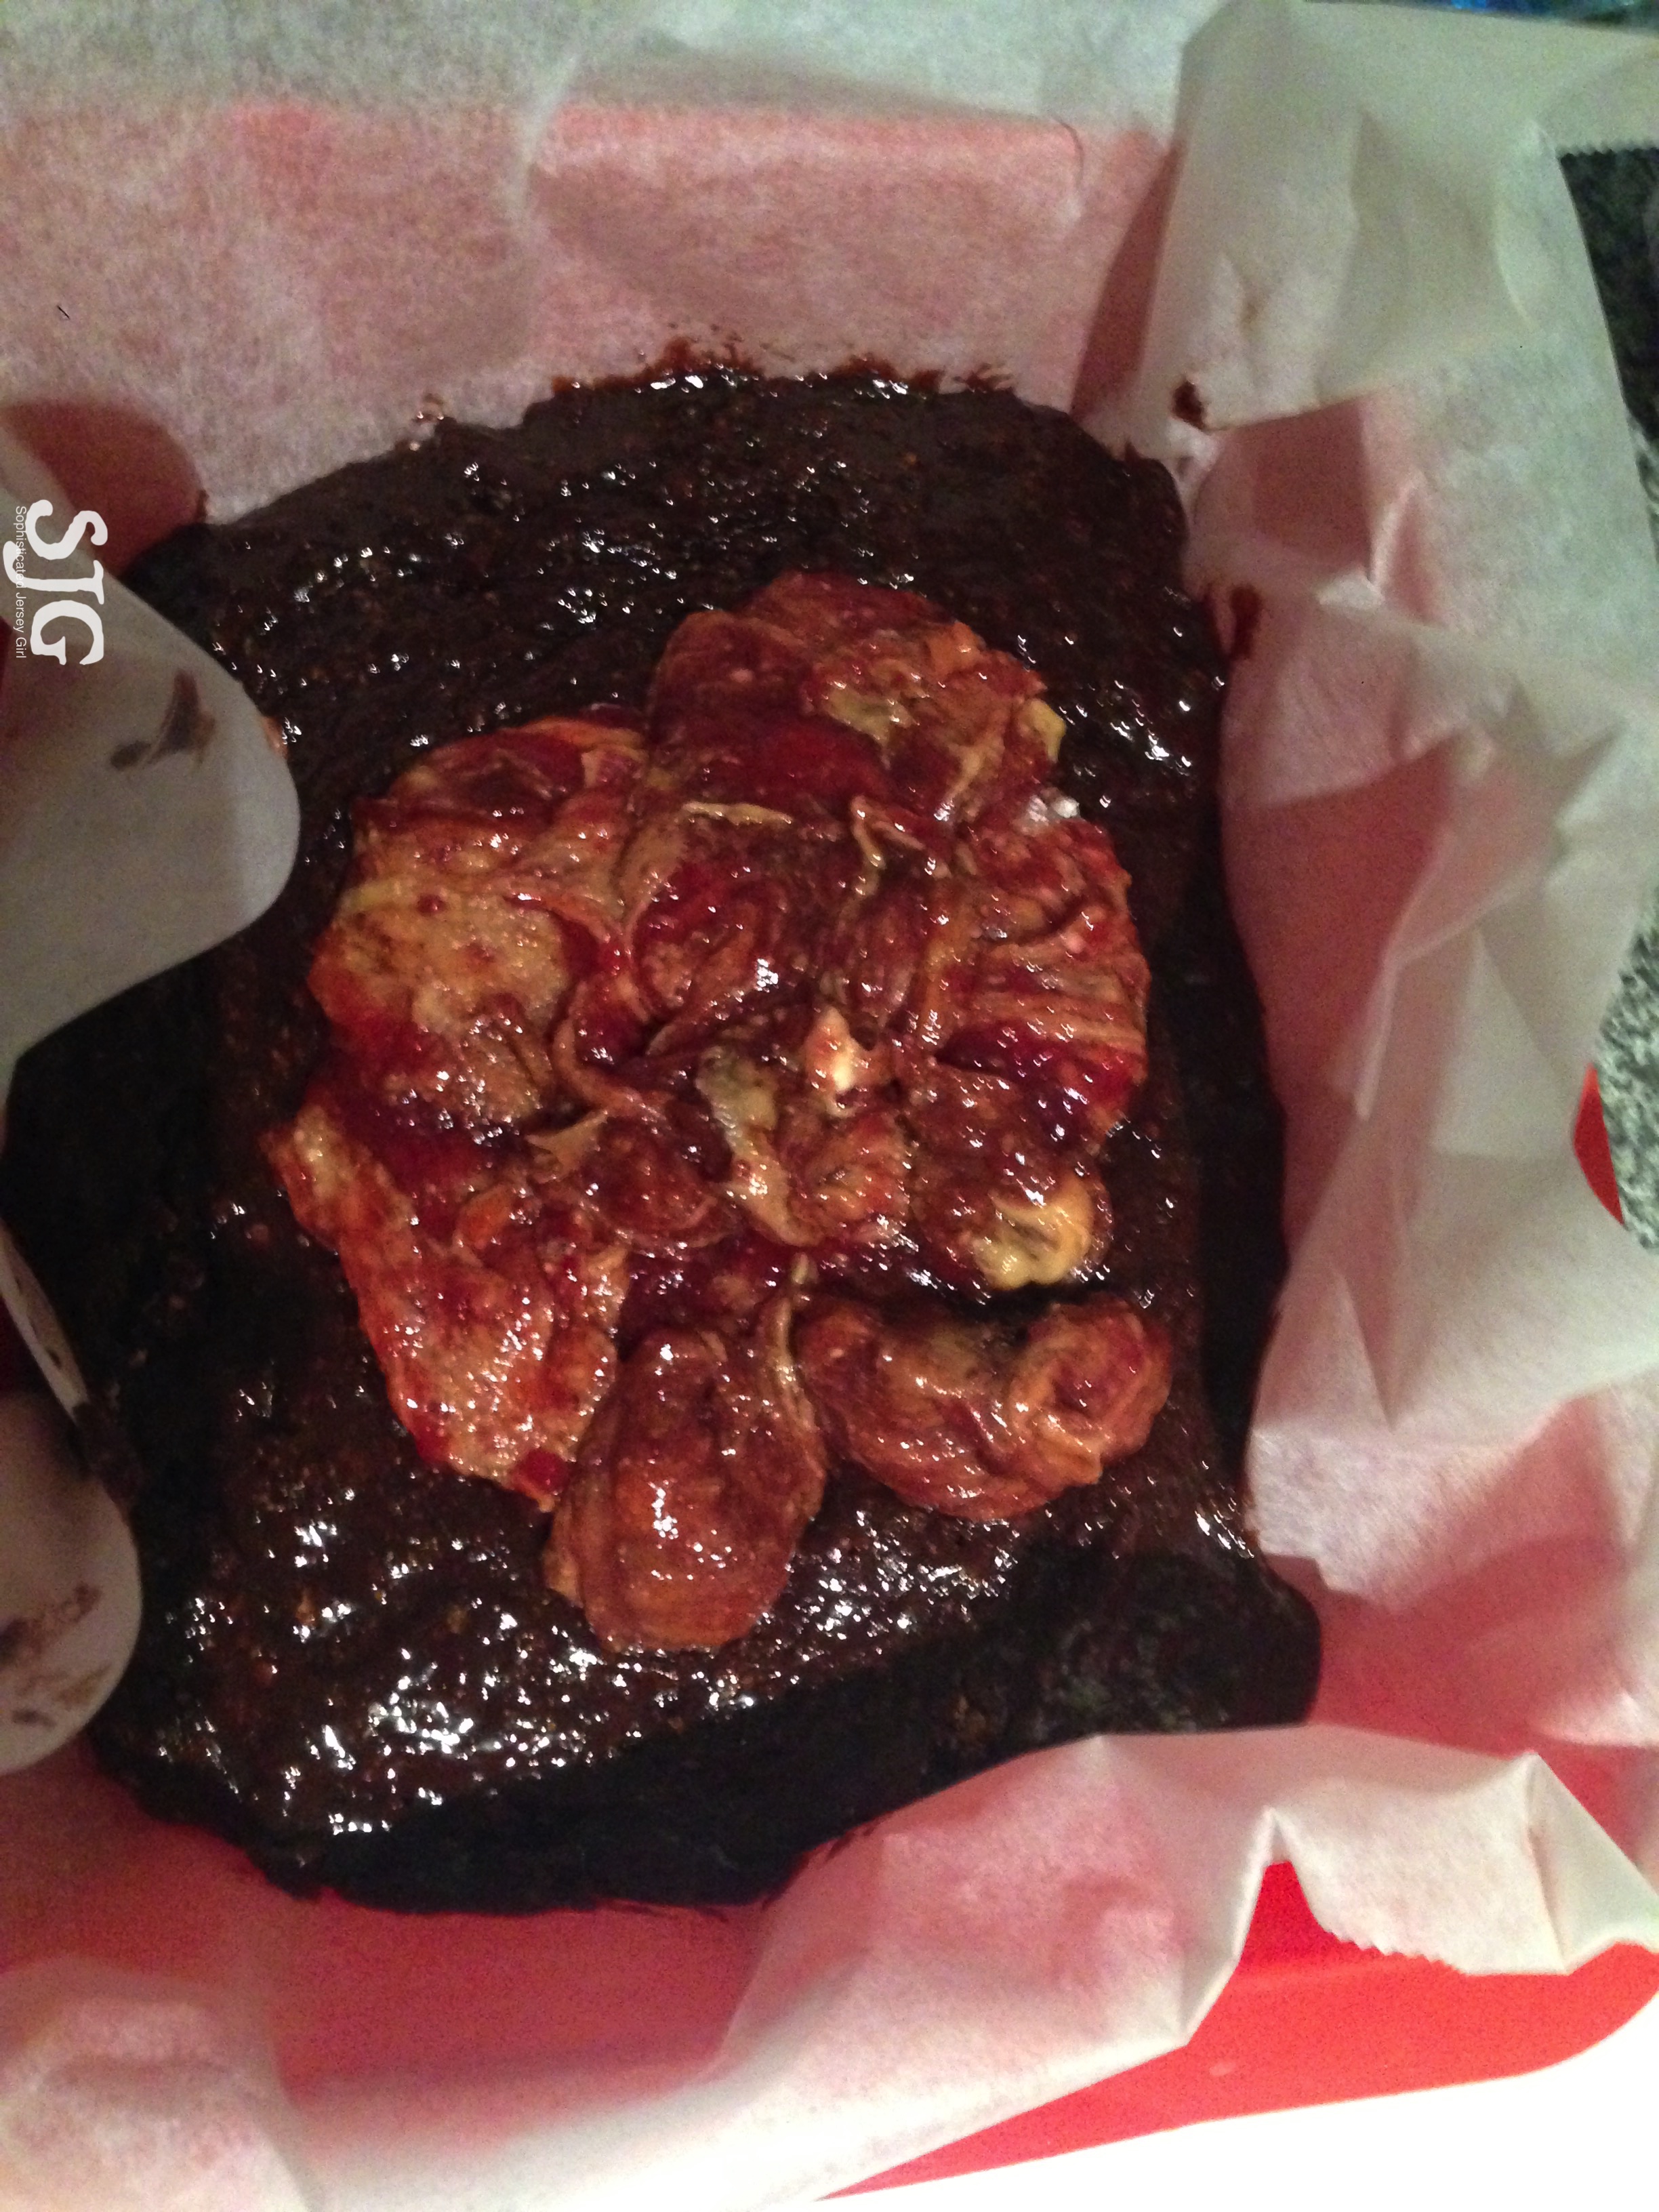
Close-up of my bowl. Lots of cheesy deliciousness! The rosemary and goat cheese make it grown-up, so go ahead and grab an extra forkful.

What’s your favorite way to mac and cheese?  

* This recipe was my own idea.  Neither Mars nor Laack’s is sponsoring me, although if they’d like to I’d love to talk!

Back to the Motherland, and La Cucina di Clemenza

You guys, I’m back in New Jersey!  I know I haven’t written in a little while.  Wrapping up work in Spain was a little hectic, but after a much-needed vacation through Mallorca and Paris, I got to come back home.  While I was incredibly fortunate to get to work and live in Europe, I love home, and my home state.  To ease back into blogging, I thought a nice food review would be great.  I’d been dreaming about the first meal I’d eat on Jersey soil for at least a month – a Swiss cheese burger from a local burger bar – and it didn’t disappoint.  I’m not willing to divulge the name of my burger connection just yet, but I do have another delicious place to share.

Not my first meal back, but equally as good, I got to try a new (for me) Italian restaurant, and I think it’s a new favorite.  What better way to get back into the swing of things than with an Italian restaurant review in New Jersey?  Any Godfather fans out there?  I know I am.  Little did I know that a few miles from my hometown is a restaurant owned by the family of the late Richard Castellano, the man who played the role of Peter Clemenza in The Godfather.  The place is called, of course, La Cucina di Clemenza, and it was really good.  For you people in Northern NJ, it’s right around the corner from the Papermill Playhouse in Millburn, which makes it great for a pre or post-show meal.  {We saw Ever After, which was fantastic.  Charles Shaughnessy has been one of my favorite actors since he was on the Nanny, and he did not disappoint on stage.  The rest of the cast was also really great!}

La Cucina di Clemenza is a really fun place.  You know you’re in an Italian restaurant when you walk in.  Above the doorway is a mural of the New York City skyline, circa 1945.  The menu was filled with Godfather quotes, and the staff was really friendly and helpful.  I’m not entirely sure that our waiter’s real name was the very Italian name he told us it was, but it added to the ambiance.  For the wine people out there, the restaurant is BYOB, but they also have a liquor license that I think allows them to sell Jersey-made wines by the bottle.  I’m a little fuzzy on the details, since we brought our own, but just know it’s there and you can bring your favorite bottle if you’d prefer.

Attached to La Cucina is a pizza place by the same name, which also looks interesting.  I’ve heard they have good garlic knots, but I didn’t order any, so I can’t really say.  My table ordered a salad to start with, and several pasta dishes; Rigatoni Salciccia – with ground sausage in a pink sauce, Penne alla Cinque Cinque – with fresh tomatoes, shrimp, and arugula in garlic and oil, and my favorite, Rigatoni Siciliano – with filet mignon, eggplant, and fresh mozzarella in a red sauce.  Everything was delicious!  There was no time for dessert, since we had to get to the theater, but I know I will be back!

IMG_7393Jun 30, 2015

Slightly fuzzy menu photo, but had to share.

IMG_7394Jun 30, 2015

Misto della casa salad. Mixed greens, tomatoes, and topped with pecorino romano cheese.

IMG_7397Jun 30, 2015

Rigatoni Salciccia

IMG_7399Jun 30, 2015

Penne alla Cinque Cinque

IMG_7396Jun 30, 2015

Rigatoni Siciliano

What’s the best new restaurant you’ve discovered lately?  What did you order?

*I wasn’t endorsed or compensated in any way for my review, I just thought it might make an interesting post.  If you want to check out the online menu for yourself, the link to the restaurant is La Cucina di Clemenza.

Peanut Butter and Raspberry Jelly Brownies

It’s no secret that I love brownies.  They’re chocolatey, delicious, and easy to make.  Lately I’ve also been on a PB and J kick – is there anything better than a PB and J at the beach? – and I thought I’d try to incorporate the two.  I was anxious about the PB part, since Spaniards really don’t seem to understand it, and I didn’t want to end up eating the whole batch by myself, but I decided to go for it.  I used creamy PB, because that’s what they have here, even though I love crunchy.  I also used raspberry jelly, which I thought made the whole thing a little bit classier than say, strawberry would have done.

Overall, I don’t know that it’s my favorite brownie recipe.  I think I really am more of a classic chocolate person.  The PB and J part might have been unnecessary overkill, and I think I overcooked them just a tad, which is never good.  So err on the side of undercooked.  I should know that by now.  However, ff you love PB and J, you will like these.  Stay tuned for a recipe where I try just PB.  Chocolate and peanut butter is a classic, and I want to try it.

Peanut Butter and Raspberry Jelly Brownies

Ingredients:

Brownies:

  • 4 ounces dark baking chocolate
  • 1/2 cup butter
  • scant cup sugar {the jelly’s going to be sweet enough}
  • 3 eggs, room temperature {Possibly my favorite part about Europe is room temp eggs at the grocery store.  It sounds a little funky, but also means you can bake as soon as you get home from the store without worrying about congealed egg whites in your finished product.}
  • 2 tbsp unsweetened cocoa
  • 1 cup whole wheat flour (All-purpose would be fine, but I wanted to add a little extra protein and fiber.  With the peanut butter and jelly, you really can’t tell that it’s whole wheat}

PB&J topping:

  • 1/2 cup raspberry jelly
  • 1/3 cup all-natural peanut butter
  • 1 tsp butter
  • 1 tsp powdered sugar

Directions:

  1. Preheat your oven to 350°F {175°C}.  Prepare your 8×8 or 9×9 pan, either with butter or parchment paper.
  2. In a large mixing bowl, combine sugar with melted butter and chocolate mixture.
  3. Add eggs and cocoa powder and stir well.
  4. Finally mix in the flour, stirring just enough to combine all the ingredients.
  5. Pour the batter into your pan, making sure to spread it into the edges.  You want a nice base for the PB&J topping.
  6. Melt your topping butter in the microwave.  Watch it because it shouldn’t take very long at all.
  7. Mix in the peanut butter, jelly, and powdered sugar.
  8. Drop the topping onto the brownie base and spread it around.
  9. Bake about 30 minutes and remove from oven to cool completely.  If they’re still a little gooey it’s okay – they will keep cooking as they cool, and overcooked brownies are much worse than undercooked ones.
  10. Slice and enjoy 🙂

{Sorry in advance for the picture quality in this post.  Unsurprisingly, apparently standing in the middle of the kitchen holding bowls of things into the light where they photograph better yields blurrier photos than leaving them on the counter.  I thought blurry and visible was better than dark and clear.  Also, I just updated my computer, and Apple seems to have “upgraded” iPhoto with Photos.  So far I hate it, and it doesn’t seem to be “talking” correctly with my watermark program.  So please forgive the fact that for now, my watermark is in the wrong spot on all the photos, and sideways.  I really need to sit down and figure that out, but I wanted to get this recipe up, and the man standing below my window playing “Tequila” on an accordion is trying my patience right now.  Has anyone else had any problems adjusting to Photos?}

IMG_5743May 9, 2015

Sugar, melted butter and chocolate.

IMG_5744May 9, 2015

With the eggs.

IMG_5746May 9, 2015

And the cocoa powder.

IMG_5747May 9, 2015

All the ingredients combined.

IMG_5749May 9, 2015

Topping. Using the glass measuring cup made it really easy to measure and stir without dirtying a bunch of extra measuring cups and spoons.

IMG_5750May 9, 2015

Different view.

IMG_5751May 9, 2015

Brownies and topping pre-oven.

IMG_5752May 9, 2015

Spread around. I also trimmed my parchment paper so it wouldn’t catch on anything in the oven. I know it’s oven-safe, but I don’t like it up against the heating element.

IMG_5753May 9, 2015

All done! It’s hard to see the topping, but if you look carefully, it’s there.

*What’s your favorite brownie recipe?  Do you have a favorite twist on a classic?

Avocado Pancakes

The name sounds a little weird, right?  Avocado in a pancake?  I know what you’re thinking.  I was skeptical too, but I had to use up some overripe avocados, and throwing them into a batch of pancakes sounded perfect.  I adjusted the recipe that I found on the California Avocado website.  The batter definitely has a greenish tinge to it, but that mostly goes away when you cook them, and they really don’t taste like avocados.  The original recipe calls for mixing everything in a blender, which I actually have in my new apartment, but I wanted to make these low-tech.  As long as your avocados are super-ripe, you’ll be absolutely fine without a blender.

Avocado Pancakes:

Ingredients:

  • 1 1/2 cups milk {I used 2%}
  • 2 large eggs
  • 1 tbsp unsalted butter
  • 1 tbsp sugar
  • 2 small ripe avocados
  • 1 cup whole wheat flour
  • 1/2 cup white flour
  • 1 tsp baking powder
  • 1 tsp baking soda

Directions:

  1. Melt your butter.  30 seconds in the microwave on high will definitely do it.  Just watch it so it doesn’t explode.
  2. Mix together the milk, eggs, and butter in a large bowl.
  3. Mash avocado in a separate, small bowl.
  4. Add the avocado into the milk, eggs, and butter, making sure you get the lumps out.
  5. Add dry ingredients and mix just until incorporated, but don’t over-mix.
  6. Cook on a griddle or a non-stick frying pan over medium heat. {1/3 cup is a good size scoop.}
  7. When heated through and bubbles appear, flip pancakes over and cook the other side.
  8. Serve warm, with all of your favorite pancake toppings.
IMG_5757May 11, 2015

Mix the eggs, butter, and milk.

IMG_5760May 11, 2015

Mash the avocado in a separate bowl.

IMG_5761May 11, 2015

Add the avocado to the milk, butter, egg mixture.

IMG_5765May 11, 2015

Add the dry ingredients to the wet ingredients.

IMG_5766May 11, 2015

Combine.

IMG_5770May 11, 2015

Drop in 1/3 cup scoops onto a medium hot griddle/frying pan.

IMG_5773May 11, 2015

Flip when bubbles appear.

IMG_5778May 11, 2015

A nice stack of avocado pancakes.

IMG_5779May 11, 2015

Enjoy with your favorite toppings. I used my trusty “Vertmont” maple syrup.

IMG_5781May 11, 2015

And they make good leftovers!

Have you ever tried avocado pancakes?  What’s your favorite non-traditional pancake recipe, or way to cook with avocados?

Nutrition info: I just did a rough calorie count, but my batter made 11 pancakes, at about 120 calories each.

Rosemary Infused White Rice

Hi you guys!  I know it’s been a long time since I’ve posted an actual recipe.  Rest assured, I have been cooking, it’s just usually meals I’ve already shared.  Last night I needed something to go with my salmon, and my rosemary plant is doing so well I thought I’d snip off some to add to my rice.  This recipe is super easy and makes a great side dish, so I thought it would be a good one to share!  I used white rice, actually paella rice, since I’m trying to use up what’s in my kitchen, but you could easily swap in whatever rice you prefer.  I like to make all rice like risotto, but I’m not super-fussy about it.  I just think it cooks faster if you don’t add all the liquid at once.  I intended to make this rice like paella, and not stir it at all, but after a while it was obvious that my  stove has some serious hot spots – some of the rice was still raw and some was halfway cooked, so I gave in and stirred it a bit.  Still really easy and delicious.  The broth adds flavor that water really can’t, without adding fat and calories like extra butter does.

Rosemary Infused White Rice:

  • 1 large sprig rosemary, about 5-6 inches
  • 2 cups rice
  • 4 cups good quality low-sodium vegetable or chicken broth
  • 1 tbsp olive oil
  • 1 tbsp unsalted butter

Directions:

  1. Heat the olive oil and the butter over medium heat in a large skillet.
  2. Add the rice and let cook for a few minutes.
  3. Add the rosemary.
  4. When rice has heated, add enough broth to cover the rice.
  5. When liquid has almost all evaporated, stir and add more liquid to cover.
  6. Repeat, simmering on medium, until cooked through, about 30 minutes.
  7. If you run out of liquid, you can use water.  If you have liquid left over, that’s okay too.
IMG_5730May 9, 2015

Pre-liquid. I like my rice to get a little toasty first.

IMG_5731May 9, 2015

Just enough to cover.

IMG_5733May 9, 2015

Almost done. You can see how the rice is puffing up as it cooks.

IMG_5734May 9, 2015

All done. Transferred to another dish for serving.

IMG_5735May 9, 2015

As I enjoyed it, on a bed of arugula topped with my market-fresh salmon. Sidenote: Is this not the skinniest piece of salmon you’ve seen? The filet was so broad that they only had to cut a little bit, but it was tricky to cook without falling over.

I ate all the rice last night, and it was so good!  What’s your favorite way to eat rice?